Review 03
TEAM 21 PRESENTATION
Voice Enabled Temperature Controlled Fan Arduino Framework & ESP8266 MicroController
Presented By
Siddharth Suresh 20BPS1042
Penta Revanth 20BPS1161
Hardware Used
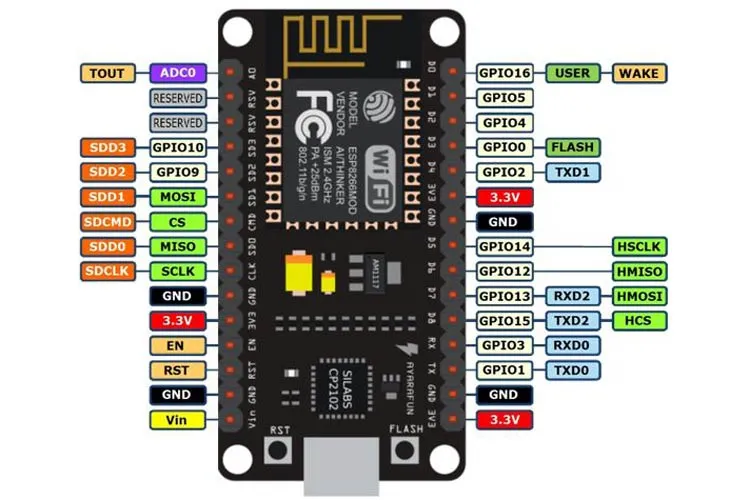
1. NodeMCU ESP8266 MicroController

Hardware Used
2. DHT11 Temperature and Humidity Sensor
Hardware Used
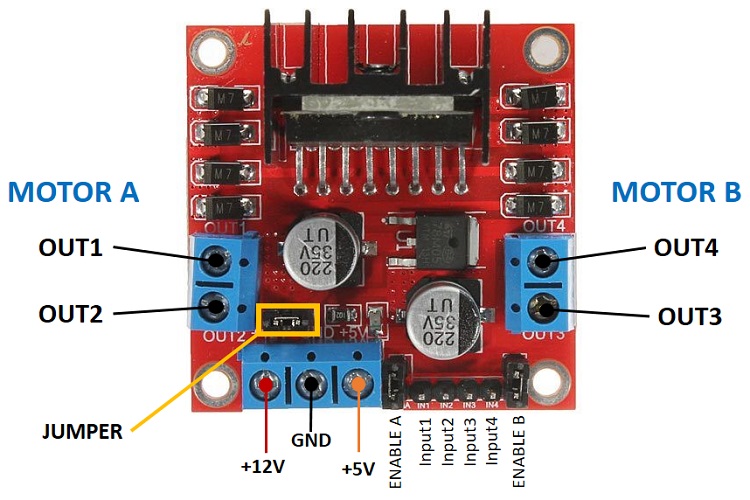
3. L298N Motor Bridge

Hardware Used
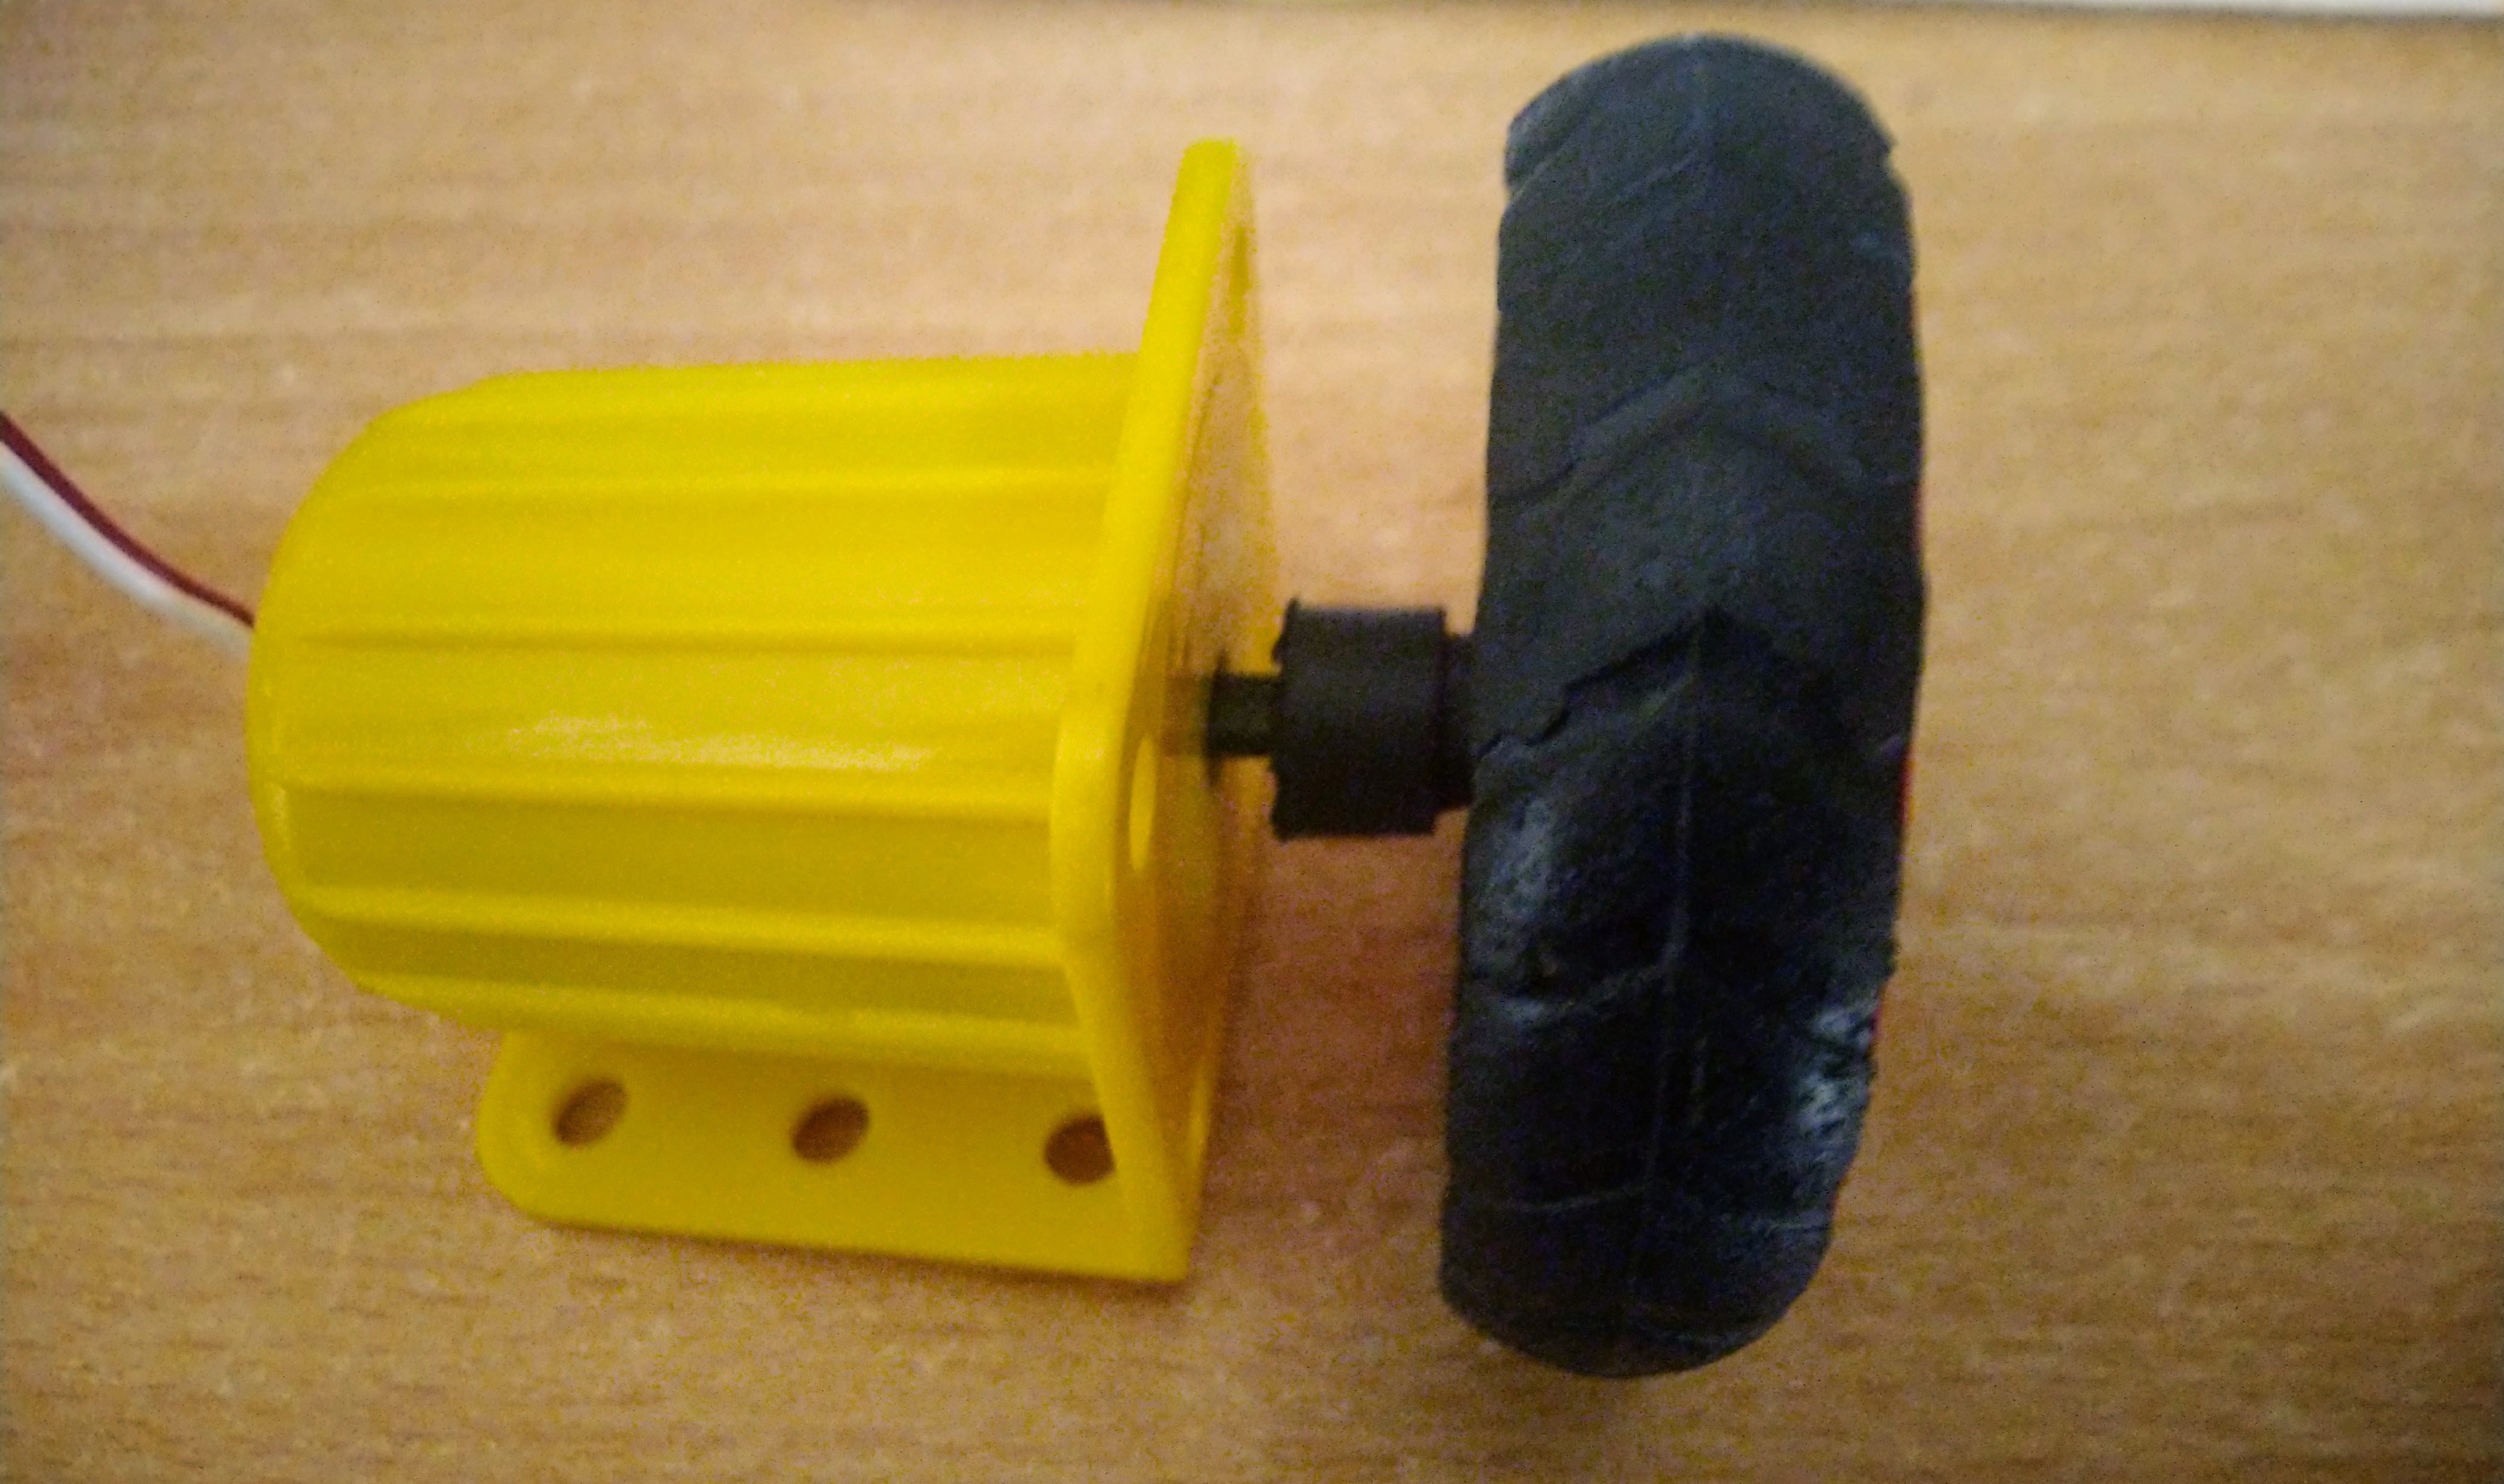
4. DC Motor

Other Hardware Components Used
- LED To Display Whether The Motor is ON
- Bread Board Jumper Wires to Connect the Components
- 9V Battery To Provide an Additional Power Supply For the DC Motor
Core Software Technologies Used
- Sqlite Database To Store Values Recieved From the Sensor
- Using ExpressJS & NodeJS For the Server
- Socket.IO For Implementation of WebSocket Protocol
- Arduino Framework & IDE To Interface with the ESP8266 MicroController
Core Software Technologies Used
- TailwindCSS for the Design of the Website
- Parcel Web Bundler
- Heroku To Deploy The Server
Other Software Technologies Used
three.js
Three.js is a cross-browser JavaScript library Used for the creation of graphical processing unit (GPU)-accelerated 3D animations using the JavaScript language
Has Been Used to Create the 3-D Animation For The Fan Simulation In the Project Web Page
Other Software Technologies Used
Reveal.js is a presentation framework for creating beautiful presentations using HTML, CSS and JavaScript
Has Been Used To Create This Presentation
Back-End Configaration
Express JS
Express is a minimal and flexible Node.js web application framework designed for building web applications and APIs.
Express Server
Code Snippet from the server.js in the root directory of the project.
                const express = require("express");
                const app = express();
                const http = require("http");
                const server = http.createServer(app);
                var port = process.env.PORT || 3000;
                ....
                app.get("/", (req, res) => {
                  res.sendFile(__dirname + "/dist/index.html");
                });
                ....
                server.listen(port, () => {
                  console.log("listening on *:"+port);
                });
Middle-Ware Connecting Back-End to the Processor and Front-End
Socket.IO
- Socket.IO is a JavaScript library for realtime web applications.
- It enables realtime, bi-directional communication between web clients and servers.
- Socket.IO primarily uses the WebSocket protocol with HTTP polling as a fallback option
Socket.IO Initialisation
Code Snippet from the server.js in the root directory of the project
                  const io = require("socket.io")(server, {
                    cors: {
                      credentials: true
                    }
                  });
Socket Connection
Fired upon a connection from client, which in this case are the users connecting to the /project URL of the website
                  io.on("connection", (socket) => {
                    //Show the socket its id
                    console.log("Socket id: " + socket.id);
                    console.log("a user connected");
                    socket.on("disconnect", () => {
                      console.log("Socket id: " + socket.id);
                      if(connected.get("ESP8266") == socket.id){
                        connected.delete("ESP8266");
                        io.emit("ESP8266", false);
                        console.log("ESP8266 Disconnected");
                      }
                      else
                      console.log("user disconnected");
                    });
                  });
Emitting Socket.IO Events
- Emits an event to the socket identified by the string name.
- The event will be sent to all connected clients.
                socket.on("Sensor", (msg) => {
                  //Set the connected state of the ESP8266
                  if(!connected.has("ESP8266")){
                    connected.set("ESP8266",socket.id);
                  }
                  io.emit("Sensor", msg);
                  //Parse the JSON msg into temperature and humidity
                  var temp = msg.temperature;
                  var hum = msg.humidity;
                  //Insert the data into the database
                  insert(temp, hum);
                  console.log("Temperature: " + temp + " Humidity: " + hum);
                });
Arduino
Arduino Libraries Requisite for the Project
- ESP8266WiFi.h
- ESP8266WiFiMulti.h - To Connect To WiFi Hotspot
- ArduinoJson.h - To Parse JSON to be sent and recived to the server
- WebSocketsClient.h & SocketIOclient.h - To Connect to the Socket.IO and To Recieve and Emit Events
- DHT.h - Used to Interface with the DHT11 Sensor
Connecting To The Internet
            void setup() {
              ....
              if(WiFi.getMode() & WIFI_AP) {
                  WiFi.softAPdisconnect(true);
              }
              WiFiMulti.addAP(ssid,password);
              while(WiFiMulti.run() != WL_CONNECTED) {
                  delay(100);
              }
              String ip = WiFi.localIP().toString();
              Serial.printf("[SETUP] WiFi Connected %s\n", ip.c_str());
              ....
            }
Connecting To The Socket.IO Server
            void setup() {
              ....
              // server address, port and URL
              socketIO.begin("cse2006-team21.herokuapp.com",80,"/socket.io/?EIO=4");
              // event handler
              socketIO.onEvent(socketIOEvent);
              ....
            }
            void loop() {
              ....
              socketIO.loop();
              ....
            }
Interfacing with the DHT11 Sensor
            #define DHTTYPE DHT11
            //The GPIO Pin Number Used to Connect To the DHT11 Sensor
            #define dht_dpin 0
            ....
            DHT dht(dht_dpin, DHTTYPE);
            ....
            void setup() {
              ....
              dht.begin();
              ....
            }
            void loop(){
              ....
              //Read the Temperature and Humidity
              float h = dht.readHumidity();
              float t = dht.readTemperature();
              ....
            }
Controlling the DC Fan Using Analog Signals
              // Motor A connections
              int enA = 2;
              int in1 = 4;
              int in2 = 5;
              int LEDout = 15; // Assign LED pin i.e: D8 on NodeMCU
              void setup() {
                ....
                pinMode(enA, OUTPUT);
                pinMode(in1, OUTPUT);
                pinMode(in2, OUTPUT);
                pinMode(LEDout, OUTPUT);
                ....
              }
              void socketIOEvent(socketIOmessageType_t type, uint8_t * payload, size_t length) {
                DynamicJsonDocument state(1024);
                ....
                switch(type) {
                  ....
                  case sIOtype_EVENT:
                  {
                      Serial.printf("[IOc] get event: %s\n", payload);
                      //Paring the JSON Message
                      error = deserializeJson(state, payload, length);
                      ....
                      JsonArray array = state.as();
                        ....
                        //Checking the JSON Message for the Event Type
                        else if(array[0]=="PWM")
                        {
                            int pwm = array[1];
                            Serial.printf("PWM: %d\n",pwm);
                            digitalWrite(in1, LOW);
                            digitalWrite(in2, HIGH);
                            if(pwm){
                              //Switching On the Fan with the PWM Signal
                              digitalWrite(LEDout, HIGH);
                              analogWrite(enA,pwm);
                            }
                            else{
                              //Switching Off the Fan
                              digitalWrite(LEDout, LOW);
                              analogWrite(enA,0);
                            }
                        }
                  }
                  ....
                }
              }
Micro-Processor Connection
Voice Recognision
For the Handling of Speech Recognision Using the Speech Recognition API
The SpeechRecognition interface of the Web Speech API is the controller interface for the recognition service.
Speech Synthesis
Using the Speech Synthesis API, we can create a speech synthesis service that can be used to synthesize speech from text.
Code Snippet Taken from script.js in the /src/public/js directory
                var recognition = new SpeechRecognition();
                ....
                recognition.start();
                ....
                recognition.onresult = function (event) {
                  var command = event.results[0][0].transcript;
                  command = command.toLowerCase();
                  console.log("Command Recived: " + command);
                  document.getElementById("modal-info").textContent = "Command Recieved " + command;
                  if (command === "start" && !$("#checkcross").is(":checked")) {
                    $("#checkcross").trigger("click");
                    var start = new SpeechSynthesisUtterance();
                    start.text = "Fan Started";
                    window.speechSynthesis.speak(start);
                  ....
                }
Front End Technologies
Overview of Project Connection
Final Circuit Visualisation

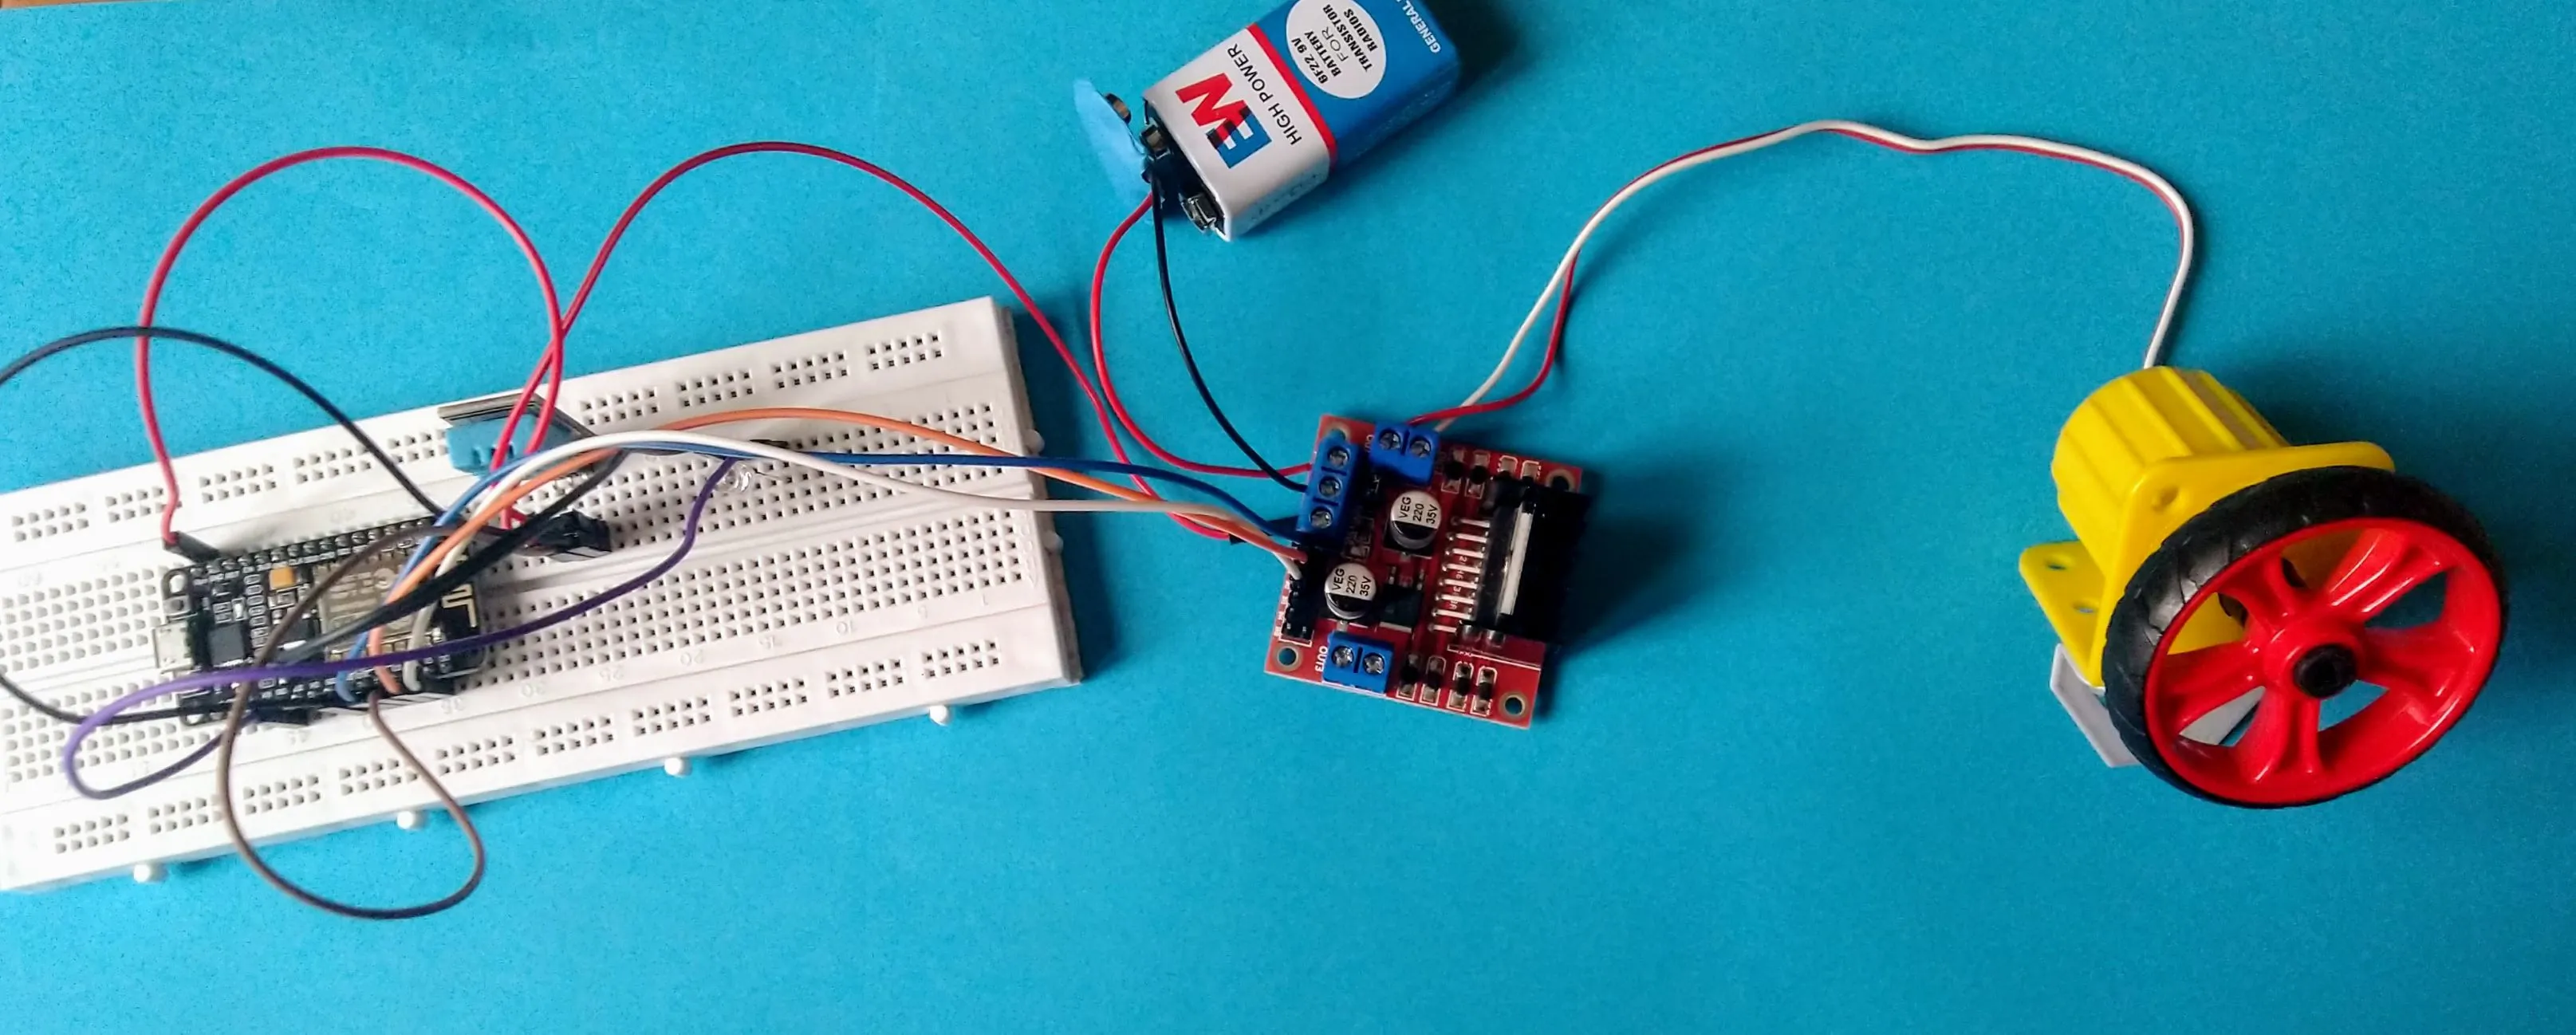
Physical Connection
Final Connection Between all the Hardware Components

Thank You
Proceed To
Home Project
